Master Bathroom Renovation

The bathroom is finally complete (minus three drawer pulls)!

The bathroom before was attractive, but the wood floor wasn't practical and the shower leaked.
Taking on a renovation is never an easy task, especially when it’s unplanned. But such is life sometimes. After moving in June 2015, I set a goal for myself that I wouldn’t tackle any major renovation projects for one year. After an immediate update of the electrical system, the addition of 24 can lights, the replacement of kitchen countertops and backsplash, and the painting or wallpapering every interior surface--all of which I consider minor projects--I settled into my newly painted routine. That is, until I found tiny brown spots on the kitchen ceiling. Nothing good ever comes from brown spots.

The shower before and after demo.
Well, after contacting plumbers to diagnose the problem, which involved cutting a large hole in the freshly painted ceiling, a leaky shower pan was found to be the culprit. The master bathroom had been updated in the mid-1990s. It looked good in the house with beadboard wainscoting, subway tile, and classic chrome fixtures. But it was in inefficient use of space. The corner shower was smallish. The singular pedestal sink offered no storage and allowed for one user at a time. The hardwood flooring, which was added, looked good, but wasn’t a wise choice for a moist bathroom.

This is where the new shower went!
Facing an estimated $2,000 repair, I did what any homeowner would do. I quadrupled the estimated repair budget and decided to gut the bathroom and start over. I immediately called my friend and helper Jeff who came and gutted the bathroom to the studs. WIthout a vision, budget, or plan, I set about deciding how to reconfigure the space.


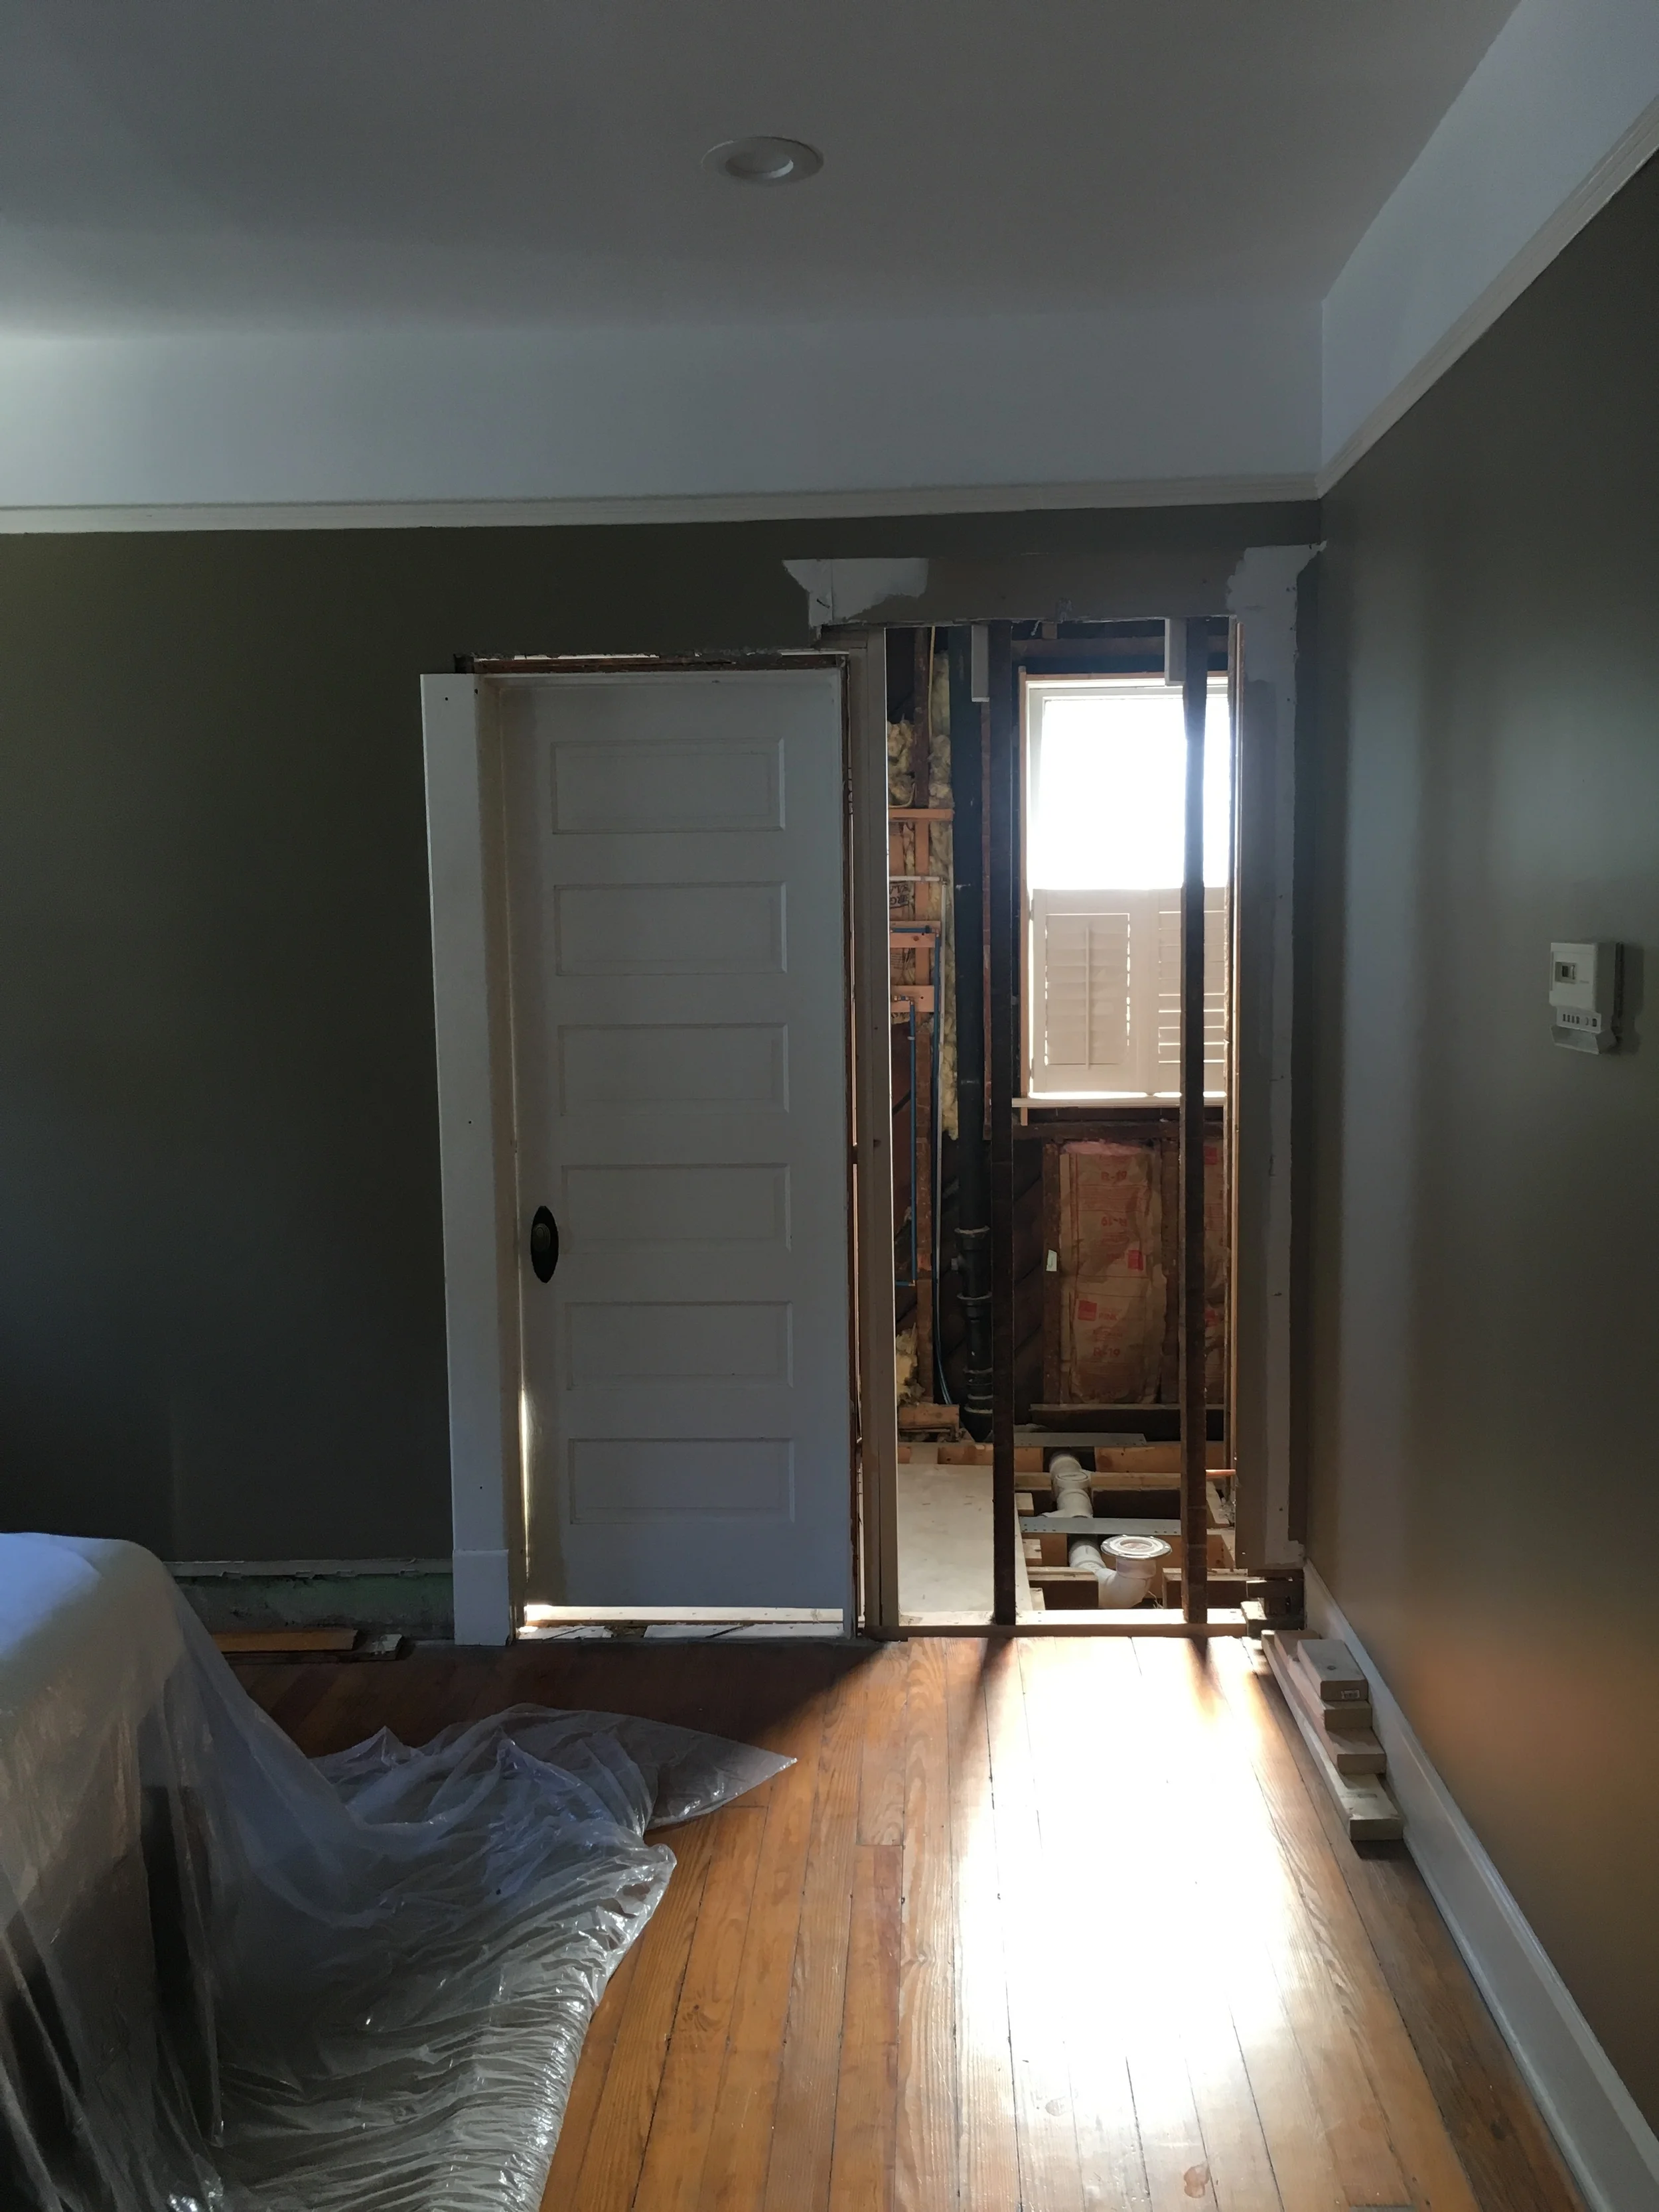


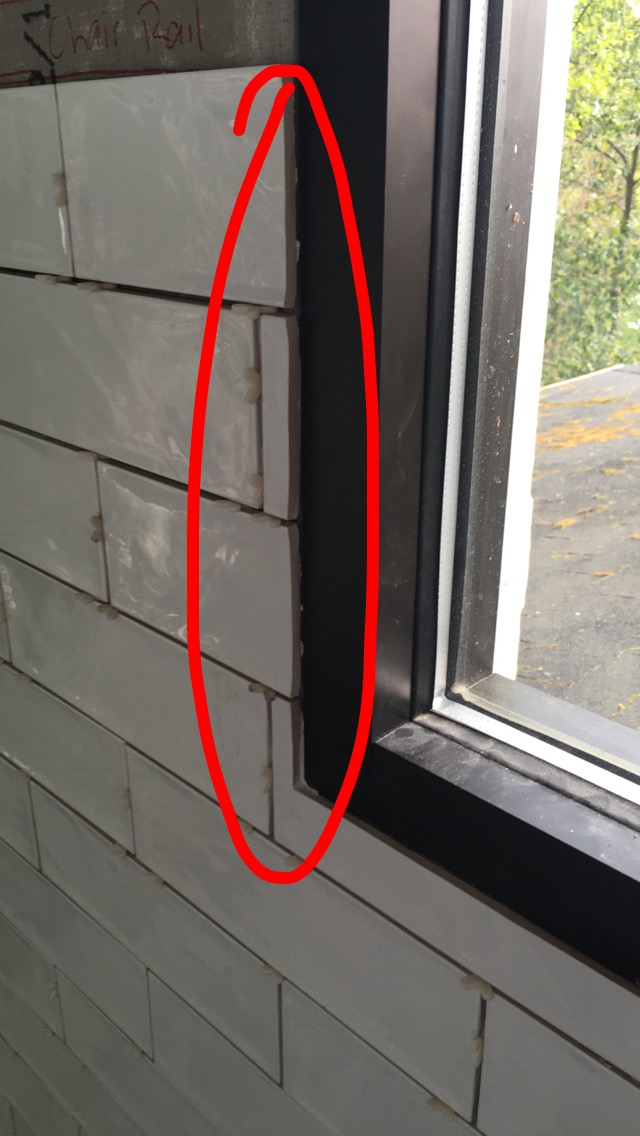
Because of the strange shape of the space, the most logical place to fit a dual vanity was the wall where the current toilet and shower had been. These would both be relocated to the opposite side of the bathroom. There were a few obstacles to overcome. First, there was a window where the new shower was supposed to go. To solve the wood/water problem, we removed the wooden window and replaced it with a commercial piece of glass in a waterproof metal frame. The second major problem was that there wasn’t a place for the toilet in the new design. To accommodate the space required for the toilet, the bathroom door was scooted over about two feet. This however created a third problem, the new toilet location didn’t allow the drain line to properly flow under the shower. The most elegant solution that we could come up with was to raise the toilet drain 2 inches. Unfortunately, this necessitated raising the floor two inches. We debated raising the whole floor, versus raising just the floor around the toilet base. In the end, we compromised and elevated the toilet at the edge of the base. This would eliminate any stubbed toes and provided a clean look.
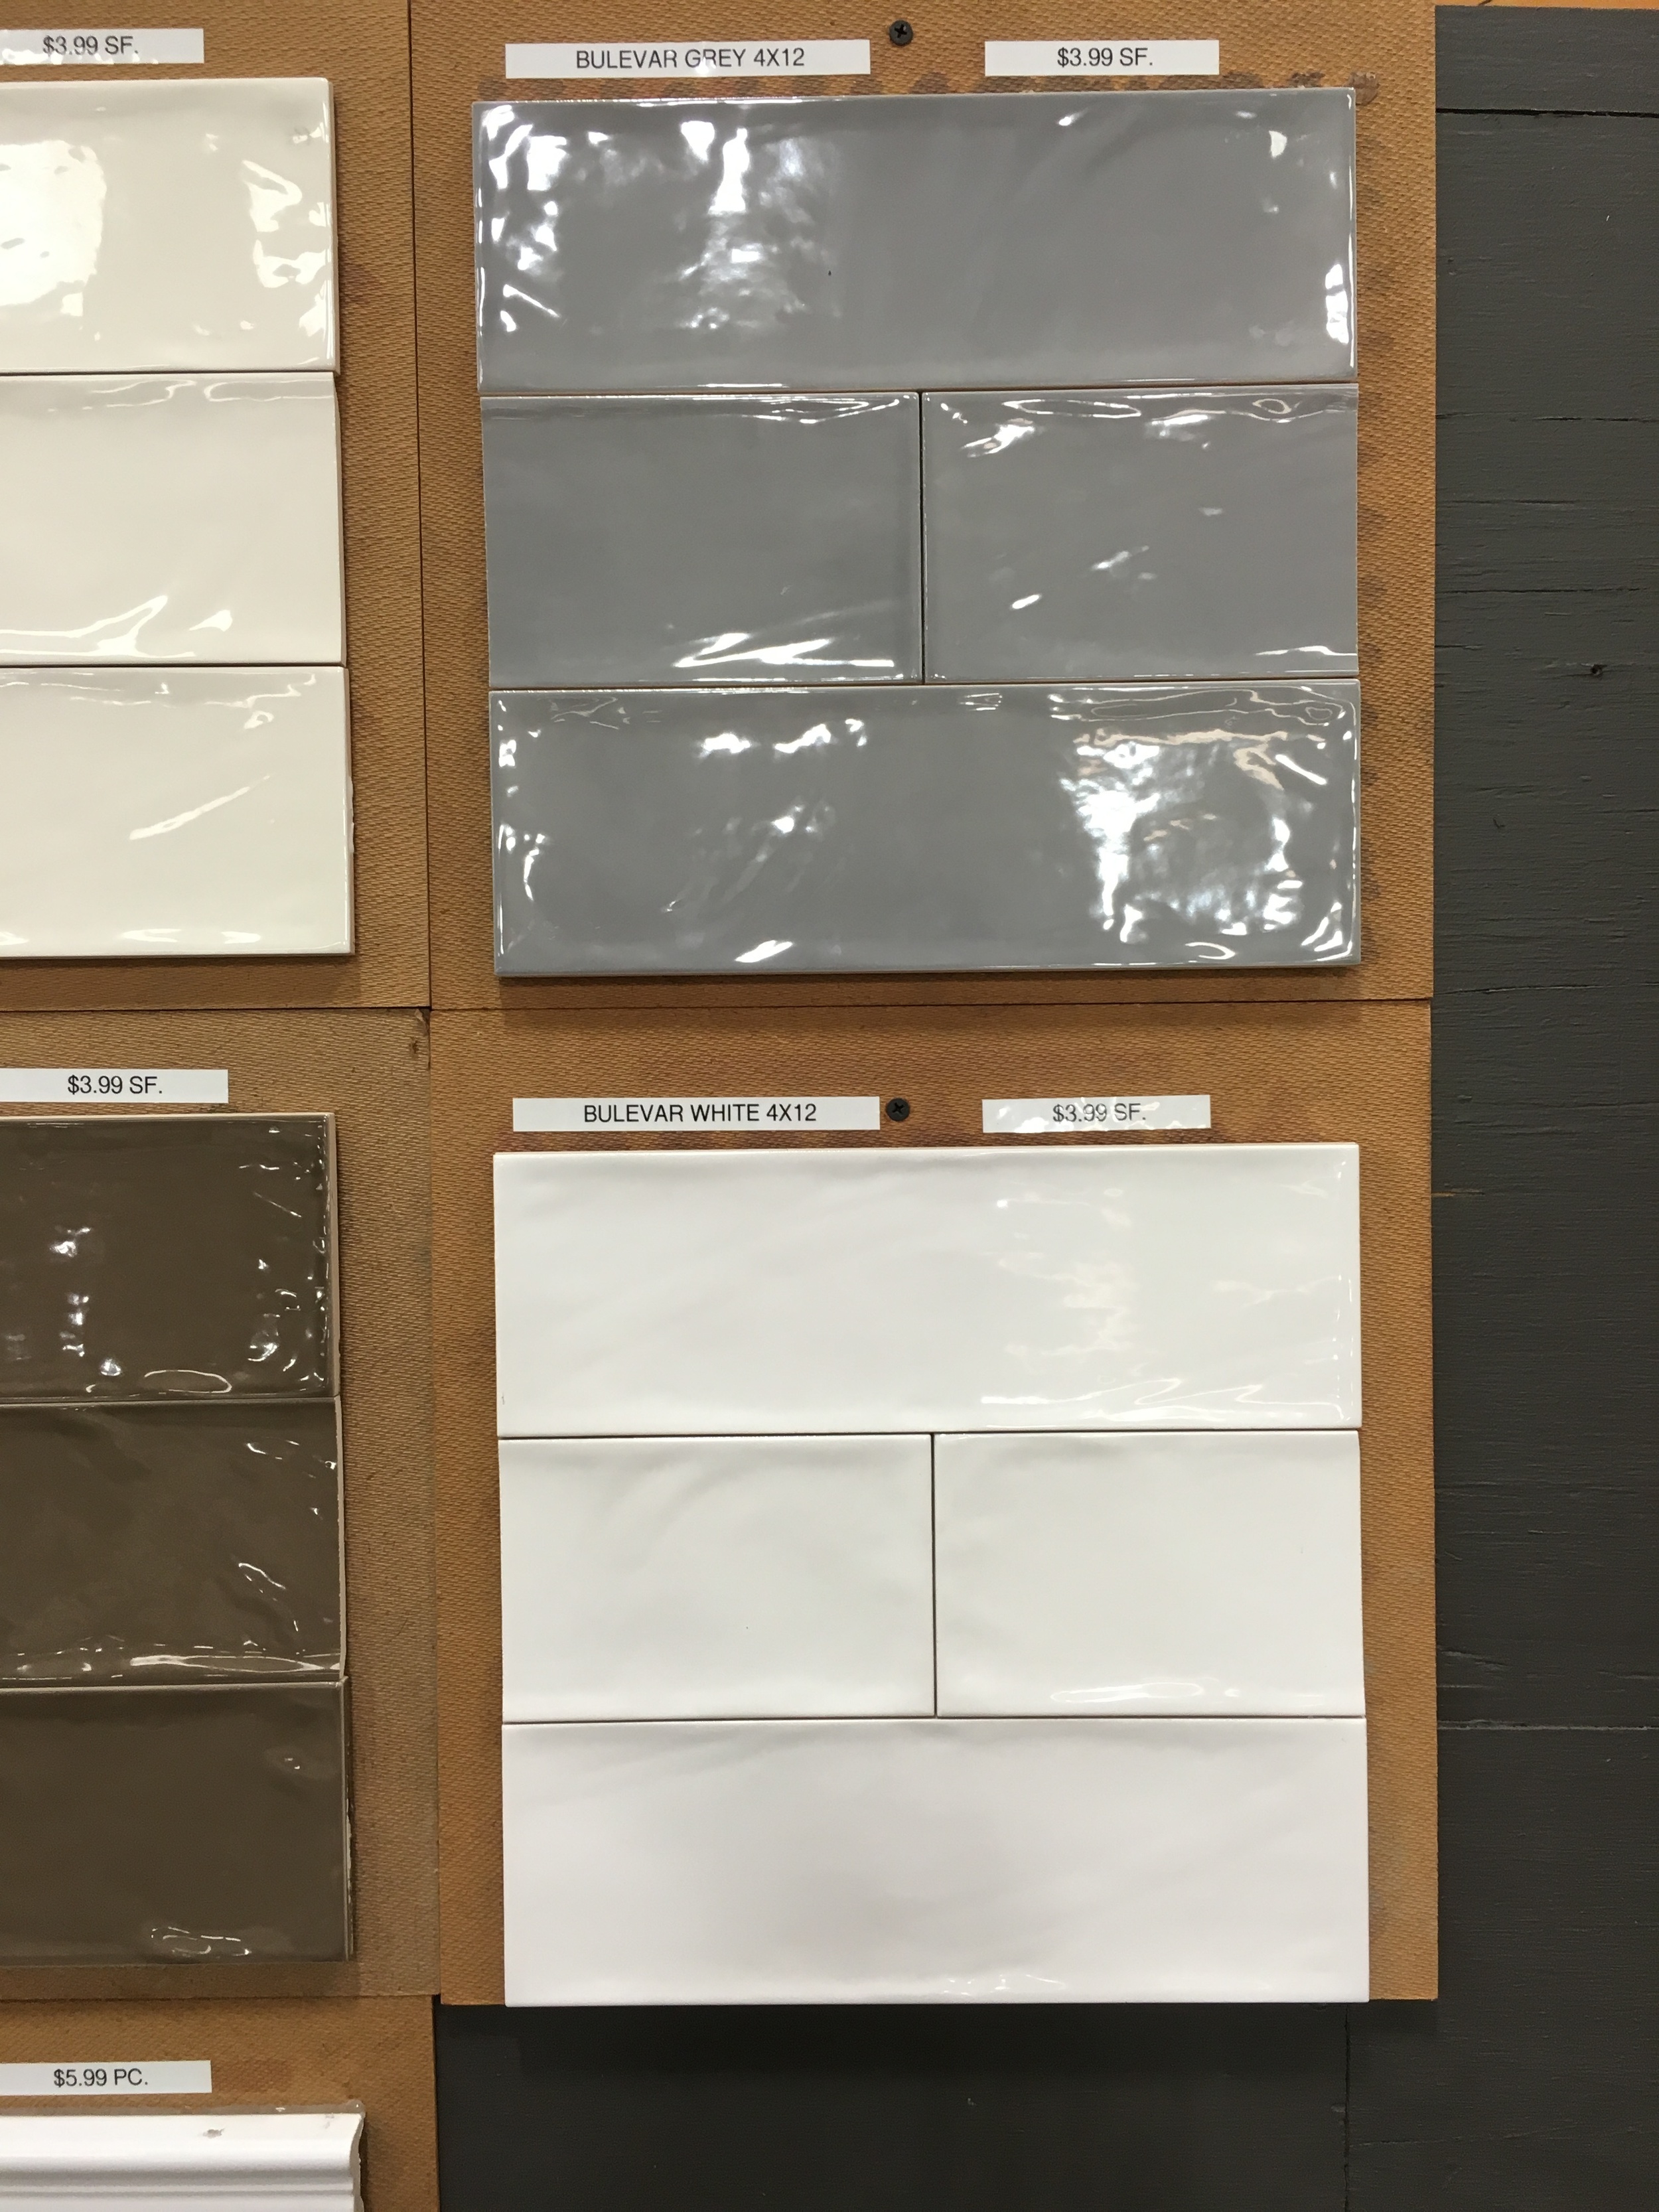


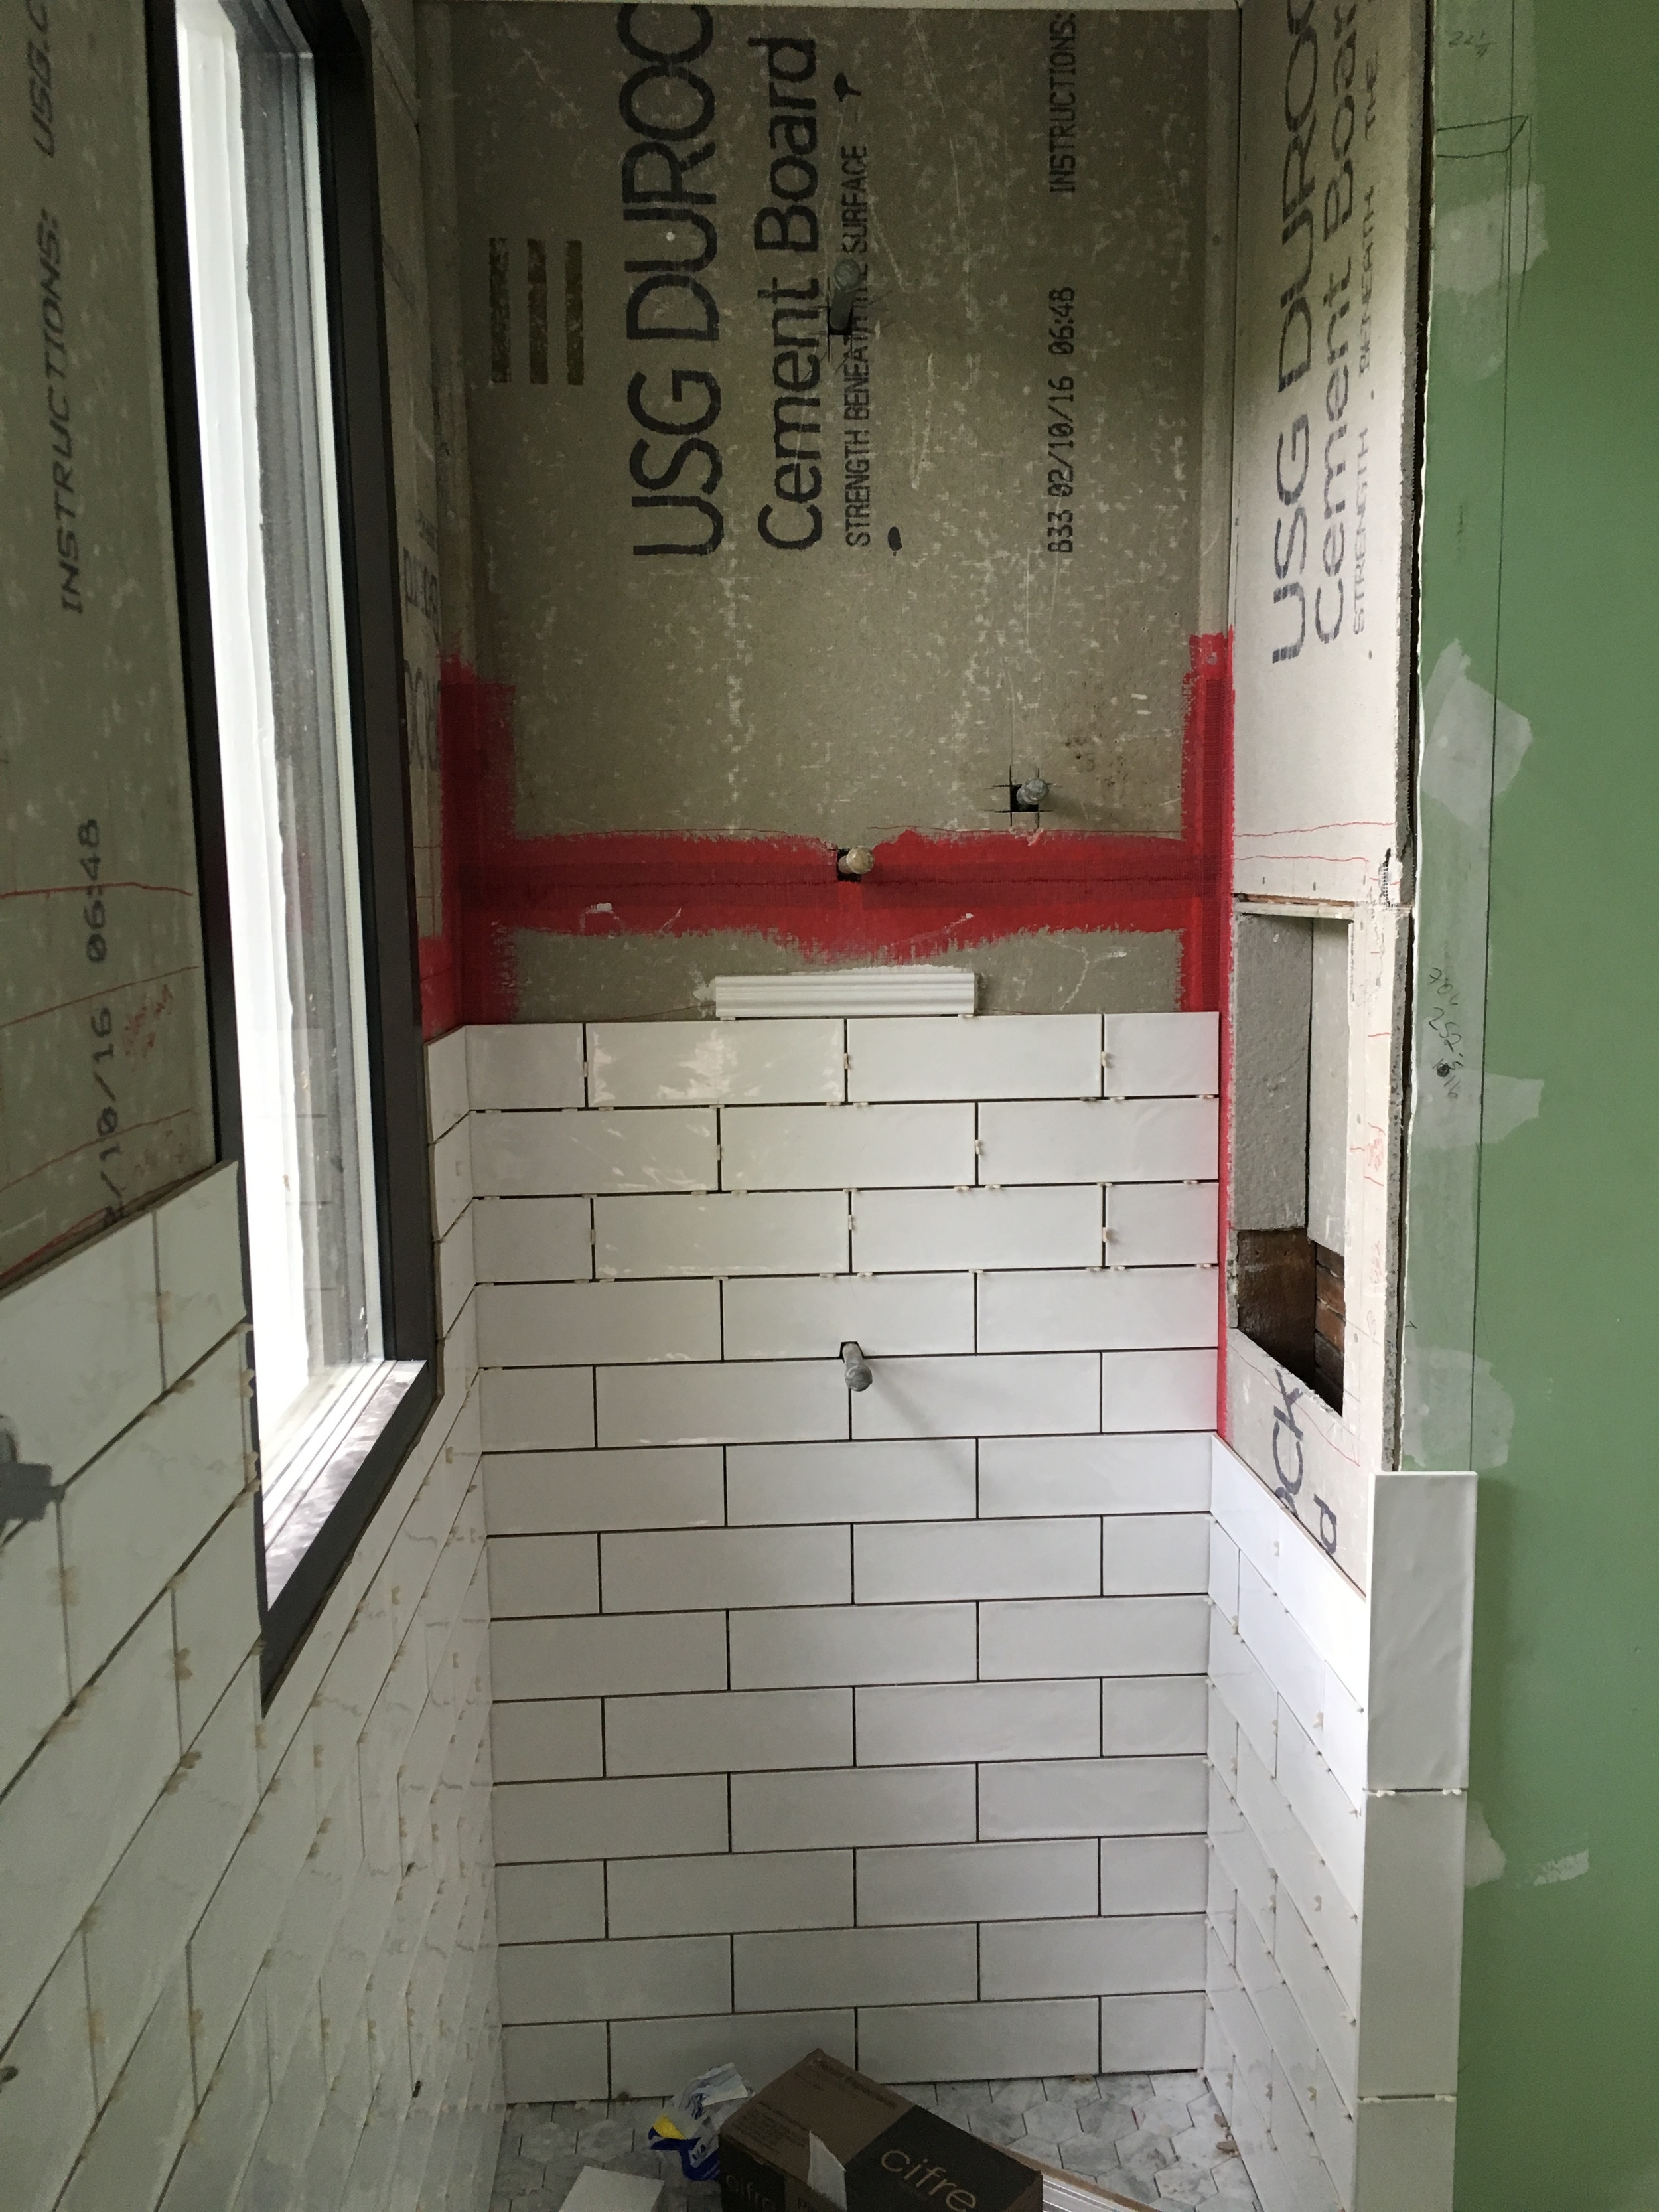
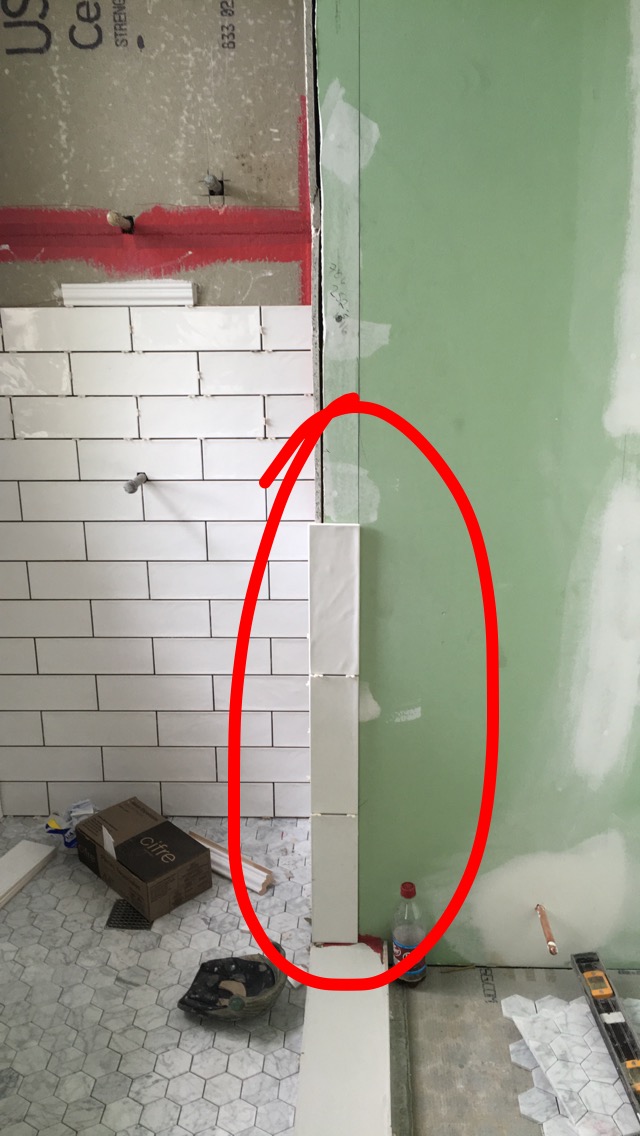
Picking a tile is always challenging. The marble hexagon floor was an easy choice. It’s comfortable yet upscale, historically appropriate yet modern in execution. I wanted the look of handmade subway tile, but not at the handmade prices. The compromise came from the Adairsville Tile Outlet. This overscale subway tile was only $3.99 sqft. Finding a smaller scale glass tile ($6.99 sqft) was not part of the original design plan, but the display at the tile outlet sold me!

The cabinet is painted Benjamin Moore's Hemlock
I had my favorite cabinet guru Rodney come take a look and measure the space. To told him to make whatever he wants as long as it’s painted Benjamin Moore’s Hemlock. This has become my go to color for this house. It’s on the kitchen cabinets and all the exterior doors (inside and outside). I’ve never been a fan of wallpaper, but after papering the kitchen with a bold pattern, I got hooked. After exploring patterns, I went with a Thibaut pattern called Luzon. It’s a modern take on Chinoiserie.

All fixtures were purchased on eBay to save cash!
To save money, I price shopped all the plumbing fixtures buying most from build.com. Sconces were ebay finds. Room Service had all Thibaut wallpaper on sale. I estimate that I saved at least $700 by shopping around. Another savings came from the glass shower surround. Adding a frameless door would have cost an additional $1,500. Money was saved by omitting the door for a more contemporary look.

The shower is finally complete!
The final product took twelve weeks. Tile work caused most of the delay. The four-five day quoted time frame ended up taking over three weeks, but the work is beautiful, and it was worth the delay.

The marble hexagon tile flows from the shower onto the floor of the bathroom.
